UEFI Secure Boot setup
This pages explains the UEFI Comboapp authentication on Welma, for supported intel machines.
Runtime architecture
Welma UEFI application structure
The Welma UEFI application, is a single EFI executable image that integrates all key boot components into one file. It is structured as follows:
+---------------------+
|      UEFI Stub      |
+---------------------+
|    Linux kernel     |
+---------------------+
|    Command line     |
+---------------------+
|       Initrd        |
+---------------------+
- UEFI stub (from systemd-boot package): Acts as the UEFI entry point and initializes the boot environment to allow direct execution by the firmware
- Linux kernel: The main operating system kernel loaded and executed by the stub
- Kernel command line: Embedded parameters passed to the kernel at startup
- Initrd: The initial RAM disk
UEFI Secure Boot stages
The UEFI Secure Boot process for the comboapp follows a defined sequence of authentication and execution steps:
- System Power-On: The platform firmware (UEFI) initializes the hardware
- Comboapp Verification: The firmware locates the comboapp on the boot
device and verifies its digital signature against the allowed keys in
dband ensures it is not revoked indbx - Execution Authorization: If the comboapp’s signature is valid, the firmware transfers control to its entry point
- Kernel and Initrd Loading: The stub loads the embedded Linux kernel, kernel command line, and initrd directly from within the verified EFI image
- Chain of Trust Extension: Once the kernel starts, it mounts the initrd, which extracts the public key from UEFI variables to be used to authenticate the filesystem partitions
Yocto configuration
This section explains how Welma configures secure boot in Yocto and points out the key variables that you should check.
It is assumed the following context:
-
Supported Intel machine:
de-next-rap8-x86,hbjc386f951t-x86ork393x-mini-x86 -
in
<machine>.conf:- Set
BOOT_SIGNING_MECHANISM = "intel"
- Set
-
In
local.conf- Activate secure boot by defining
WELMA_SECURE_BOOT = "1"(this is the default) - Adjust or keep the default values for
WELMA_KEY_SWK1_PUBandWELMA_KEY_SWK1_PRIV
- Activate secure boot by defining
-
UEFI Comboapp:
- Have UEFI Comboapp compiled and signed with the development keys
-
In
SYSROandAPPRO: have your programs not start other programs located inSYSRW, as this filesystem is not covered by secure boot. Keep in mind that/homeis located inSYSRWand make sure that files such as~/.profile,~/.bashrc, etc. do not get executed automatically if they were created by an attacker.
Sign images with production keys
The images resulting from the Yocto build are signed with development keys that should not be used for production, as they are publicly disclosed.
This section explains how to sign images with other keys, out of the Yocto build environment.
Signing process
Prerequisites:
sbsigntoolpackage
Input:
- Generated by the build:
- UEFI Comboapp (
bootx64.efi) - .verity images (
SYSRO,APPRO)
- UEFI Comboapp (
- Production Keys:
PK,KEK,SWK1in.authformat (Please refer to Appendix for more details)
Output:
- signed images provisioned with necessary public keys:
- UEFI Comboapp
- BOOT vfat partition
- SYSRO and APPRO verity partitions
Steps:
- Sign UEFI Comboapp
bootx64.efi: -
Create the BOOT partition (vfat) populated with the signed Comboapp, using
mkdosfs&mcopy -
Sign
.verityimages:
Secure products (manufacturing)
In manufacturing, each product has to be secured with the following steps:
- Enroll production keys into UEFI Secure Boot Databases (see below)
- Set a UEFI administrator (setup) password to protect the Secure Boot configuration
Enrolling Production Keys into UEFI Secure Boot Databases
To enroll production keys into the UEFI Secure Boot databases, follow these steps:
- On your host computer:
- Prepare the USB drive: Format a USB flash drive with a VFAT (FAT32) filesystem to ensure UEFI compatibility
- Copy the key files: Place the required Secure Boot key files (e.g.,
PK.auth,KEK.auth,db.auth, anddbx.auth) onto the USB drive - Reboot the platform: Safely eject the USB drive from your host system and insert it into the target platform.
- On your target platform:
- Reboot the device
- Enter the UEFI/BIOS setup menu: During boot, press the appropriate key (eg: Esc) to enter the firmware configuration interface
- Access Secure Boot configuration: Navigate to the Security tab
and locate the Secure Boot section
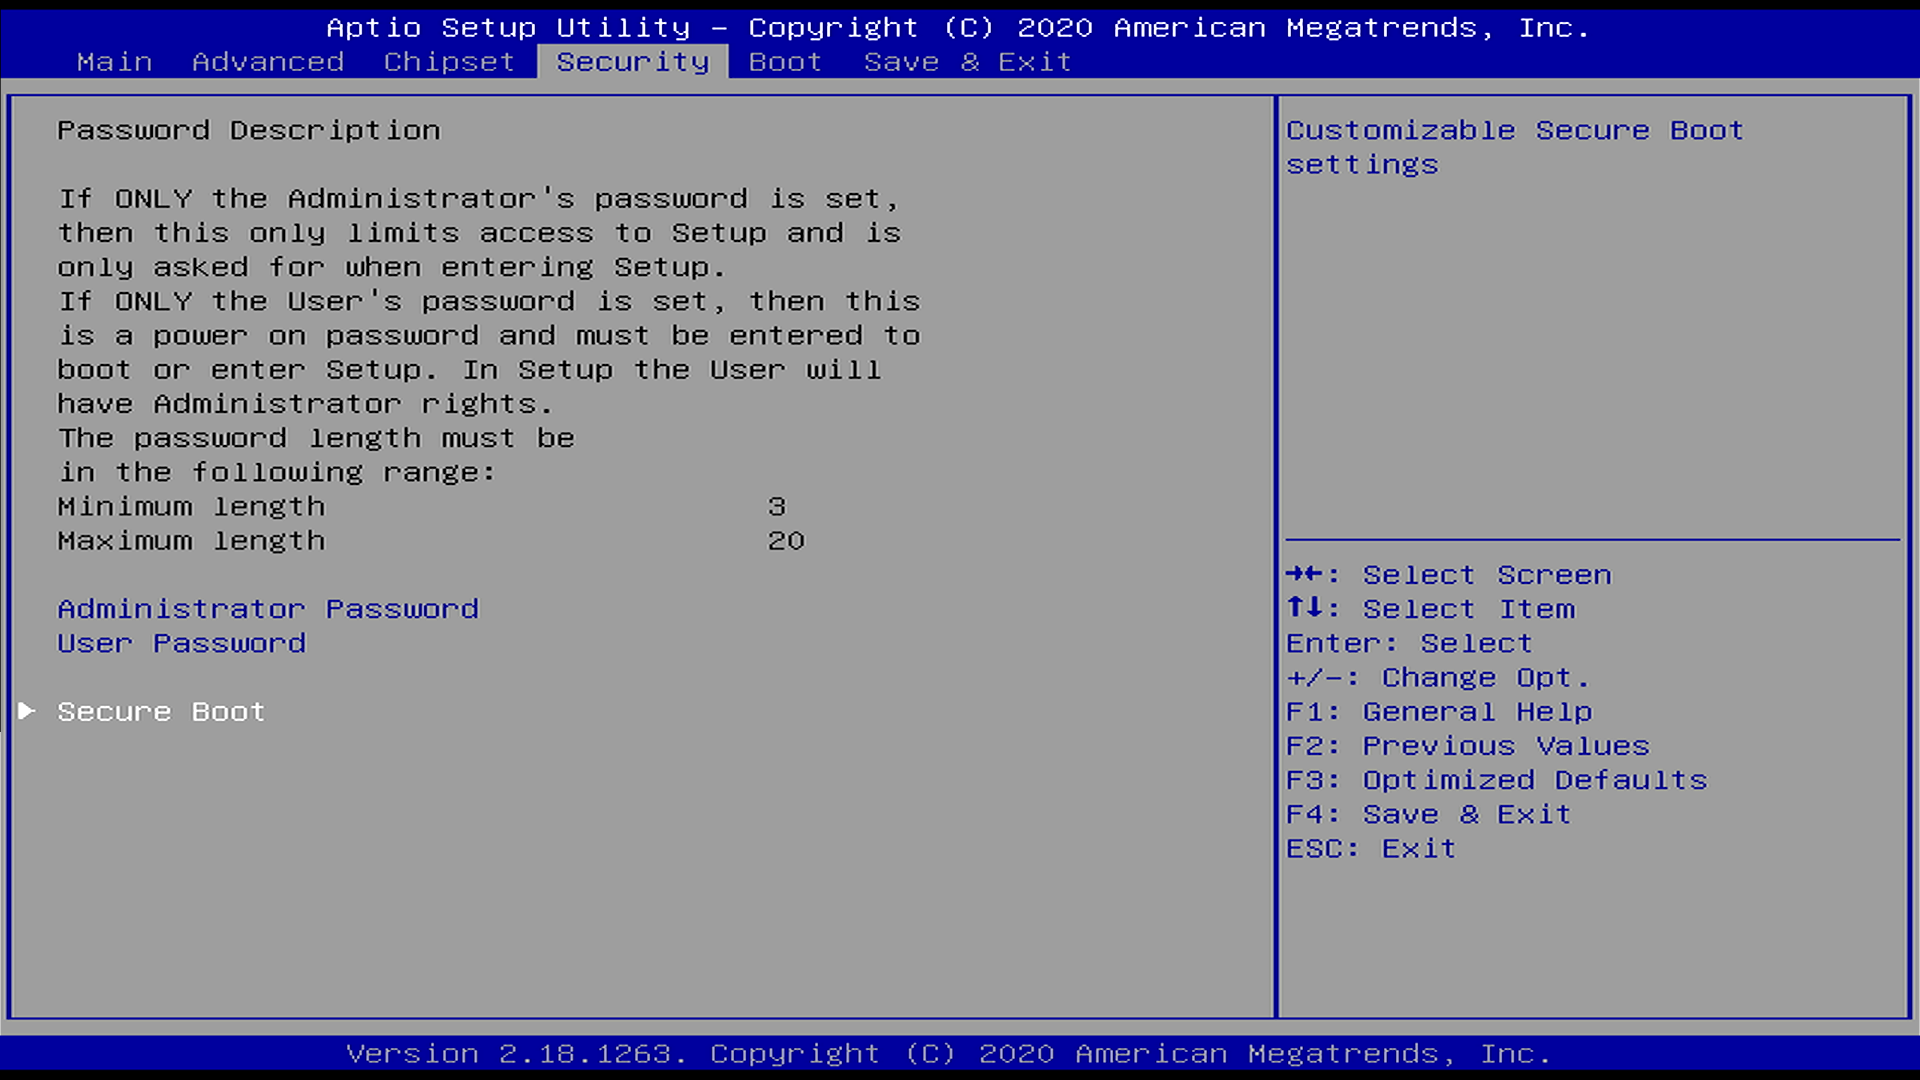
- Select key enrollment options: Disable
Secure Boot Control(if already enabled) and setSecure Boot ModetoCustomthen choose Key Management section to load keys
- Load keys from USB: Delete any previously enrolled Secure Boot
variables then update them by loading the key files from external
media as new value of each secure boot variable

- Choose key file format: Load
.authfiles and selectAuthenticated Variablefile format
- Enable Secure Boot: Set
Secure Boot ControltoEnablein secure boot menu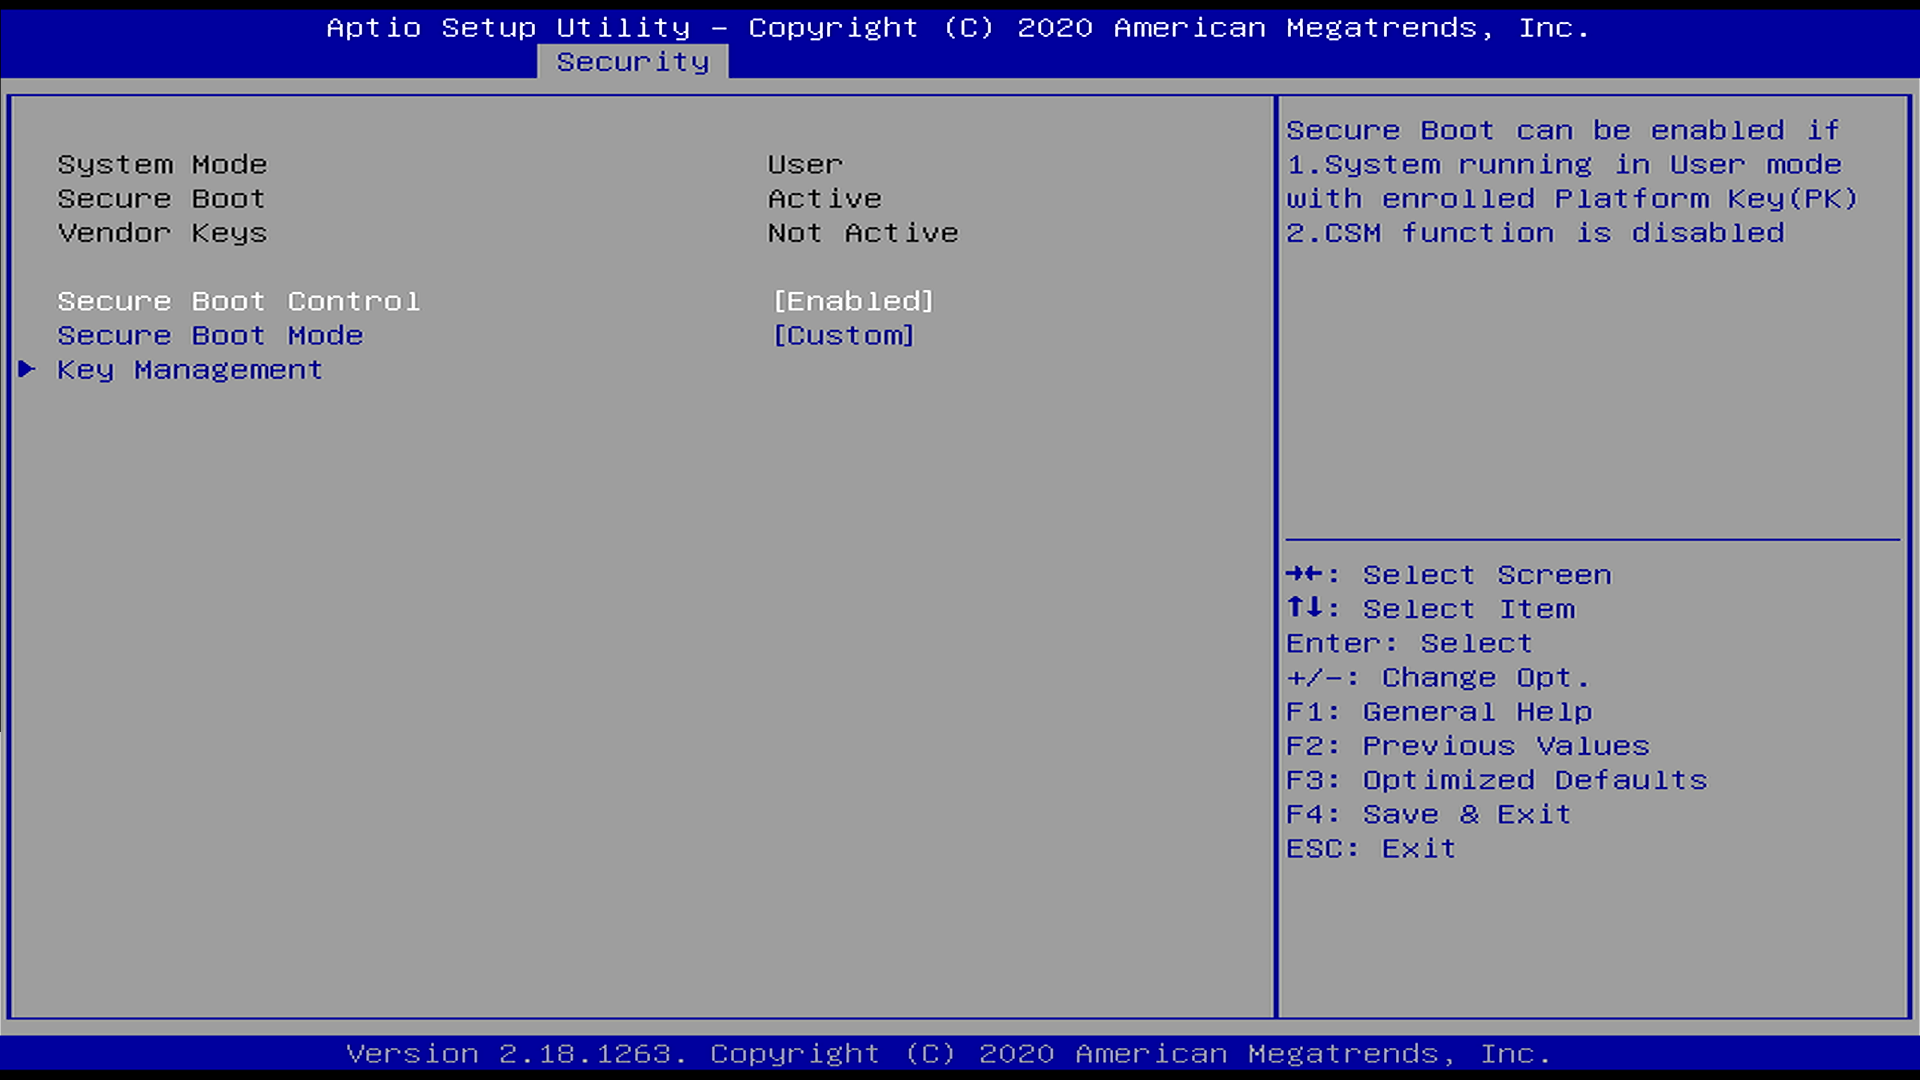
- Save and exit: Once all keys are enrolled, save the configuration and exit the firmware setup. The system will now boot in user mode with Secure Boot enabled, using the newly installed production keys
Test cases
The following test cases are designed to verify the secure boot process.
UEFI Comboapp signed with matching keys
When the Welma UEFI comboapp is signed with keys that correspond to the
db.auth entries enrolled in the UEFI Secure Boot databases, the system
displays the following notice message during the boot:
Corrupted UEFI Comboapp or signed with wrong key
When a wrong keys are used to sign the UEFI Comboapp, the authentication will fail and an error message is displayed:

Appendix: Generate UEFI keys
intel-pki-gen script can be used to generate keys in .key and .crt formats
(for offline signing) and in UEFI update files (.auth) to be installed in the
UEFI secure boot variables. SWK1.priv and SWK1.crt are generated by this script
Note
The intel-pki-gen script also generates .esl (EFI Signature List) format for
each key. These files contain unsigned raw public keys in the format used internally
by UEFI Secure Boot databases. .esl files can be used to update secure variables
when the system is in setup mode. In contrast, an .auth file encapsulates an
.esl file with an authentication header, allowing secure variable updates in
user mode as well.